Vinyl Siding Repair: 6 Expert Steps for a Perfect Fix
If your vinyl siding is cracked, warped, or coming loose. You’re not alone. Weather damage, stray baseballs, and even a rogue BBQ grill can all take a toll on your home’s exterior. The good news? Most vinyl siding repairs are easier (and cheaper) than you might think, and many homeowners can handle them with just a few tools.
In this guide, we’ll show you how to identify damage early, repair it like a pro, and know when it’s time to call in an expert. Whether you’re dealing with a small crack or a section that’s completely blown off, we’ll walk you through:
- Why vinyl siding is worth maintaining
- A step-by-step guide to repairing vinyl siding
- Common signs vinyl siding needs repair
Let’s get started and get your siding looking brand new again.
Why Maintaining Vinyl Siding is Important
Whether you’re dealing with freezing winters in Spokane, windstorms in Boise, or rainy seasons in Coeur d’Alene, your vinyl siding takes a beating. Keeping it maintained isn’t just about appearances, it’s your home’s first line of defense.
At Perfect Siding, we’ve helped homeowners throughout North Idaho and Eastern Washington avoid costly repairs through simple upkeep. Here’s why staying on top of vinyl siding maintenance matters:
- Prevents Water Damage: Without regular cleaning and sealing, moisture can get trapped behind your panels, especially after snow melts or heavy rain. Leading to mold, rot, and insulation issues.
- Saves on Energy Bills: Loose or warped siding reduces your home’s insulation. A quick inspection and fix can improve your energy efficiency by 10–15%.
- Boosts Curb Appeal: Faded or dirty siding can drag down your home’s appearance. Regular power washing and minor repairs can keep your exterior looking like new.
- Avoid Expensive Repairs: What starts as a small crack can quickly turn into full panel replacement. Spotting and addressing damage early can save you thousands.
- Stands Up to Harsh Water: Regular upkeep helps your siding withstand the freeze-thaw cycles, UV exposure, and hail common across the Northwest.
6-Step DIY Vinyl Siding Repair Guide
Vinyl siding cracked or warped? You can fix it yourself in a weekend using the guide below. This step-by-step repair walkthrough is based on methods our team uses across homes in Spokane, Coeur d’Alene, and other parts of the Northwest.
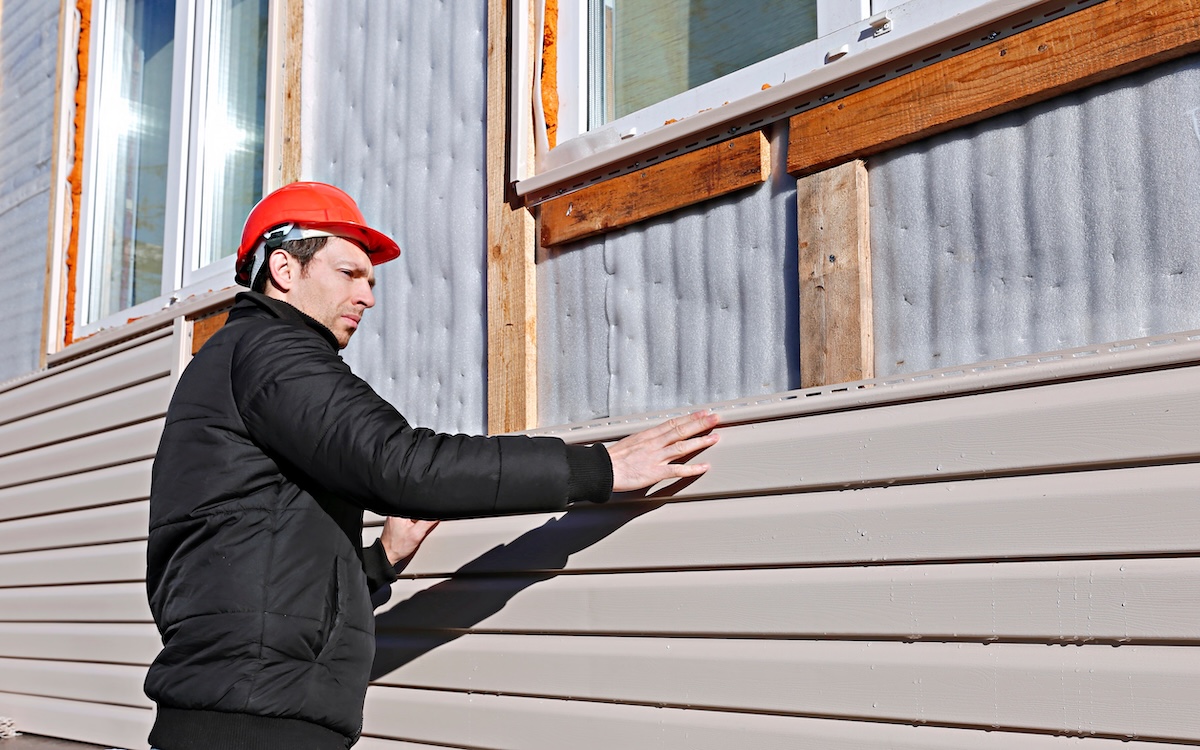
Step 1: Inspect the Damage
Look for:
- Cracks, holes, or warped panels
- Loose sections or color fading (can signal UV damage)
- Moisture stains (a sign of water intrusion)
Pro Tip: Take close-up photos of damage. Especially helpful when buying matching panels or getting a quote
Step 2: Gather Tools & Materials
You’ll need:
- Zip tool (a must-have for vinyl siding work)
- Replacement panel (match style & color)
- Tin snips or utility knife
- Pry bar & hammer
- Roofing nails (galvanized)
- Measuring tape
- Safety gloves & eye protection
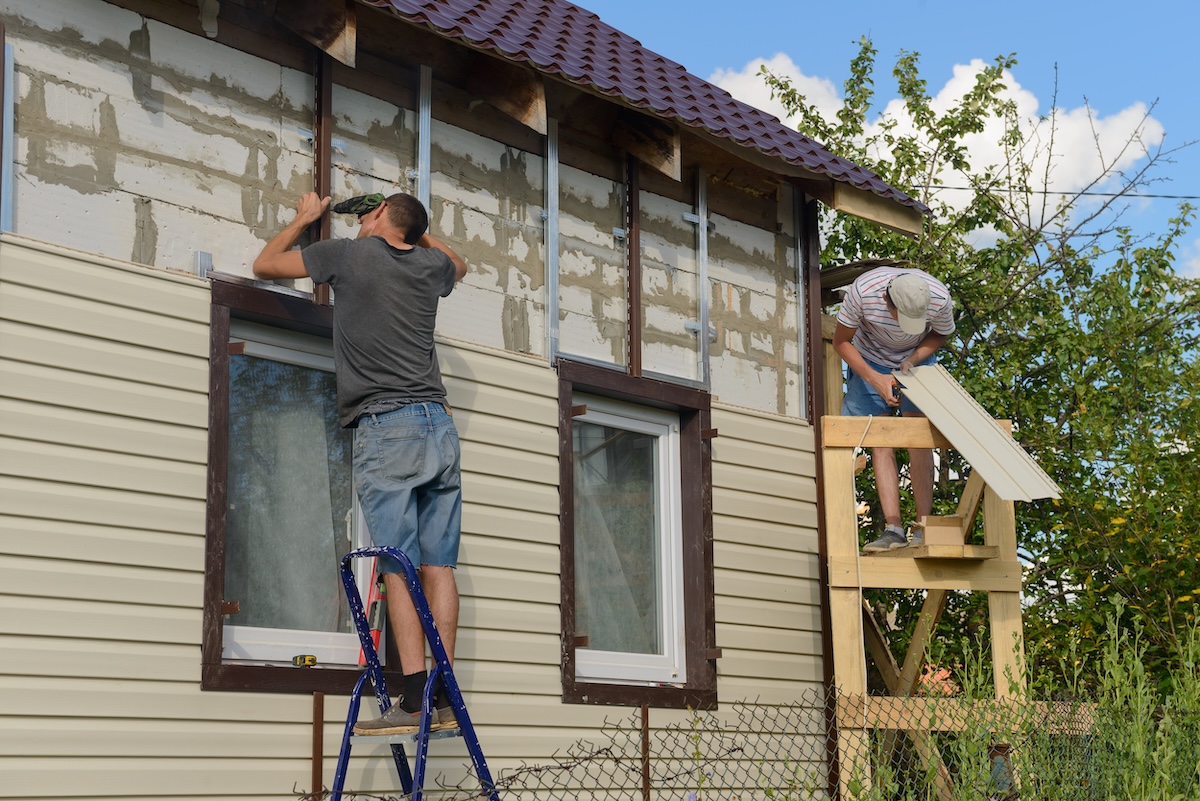
Step 3: Remove the Damaged Panel
- Use the zip tool to unhook the bottom of the damaged panel.
- Carefully pry out the nails with a flat bar or claw hammer.
- Gently remove the panel, avoiding damage to adjacent pieces.
Don’t force panels. Cold weather makes vinyl brittle.
Step 4: Cut Your Replacement
- Measure the gap left behind twice. Then cut once.
- Use tin snips or a sharp utility knife.
- Smooth edges with fine sandpaper if rough.
Pro Tip: Always leave 1/4 inch of clearance on ends for expansion during hot weather.
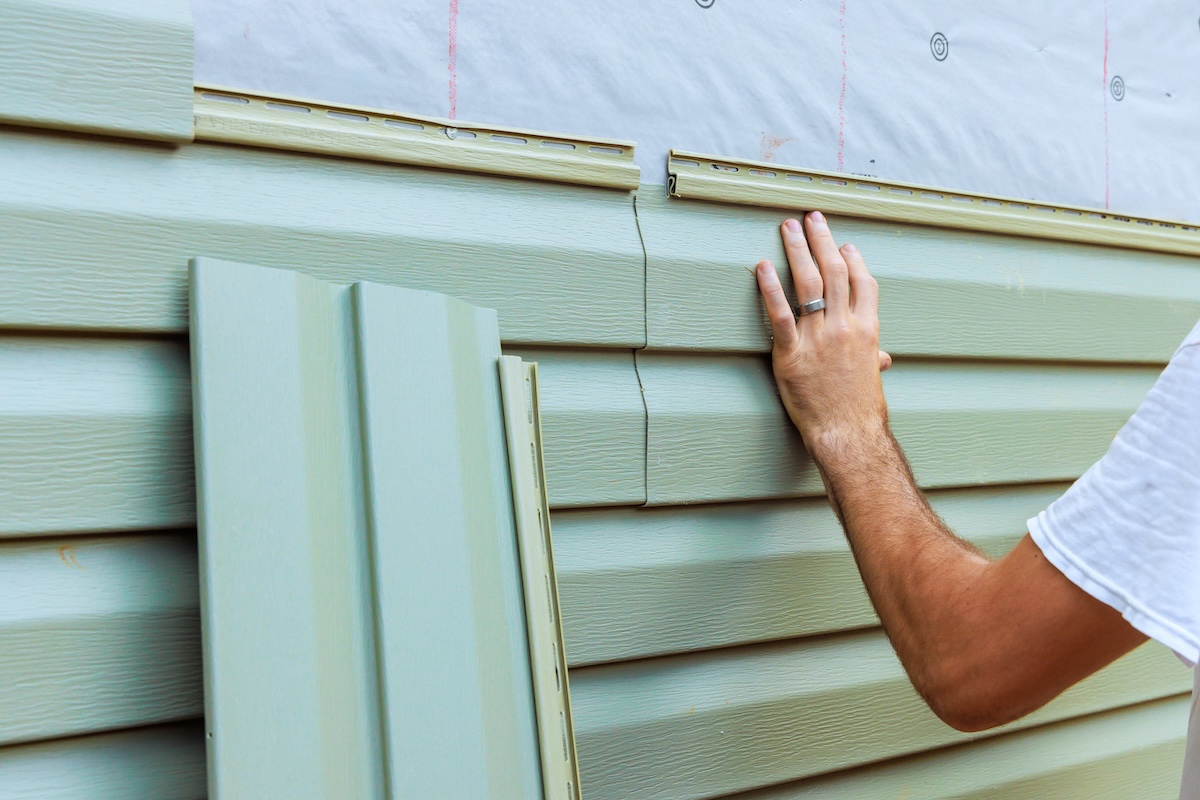
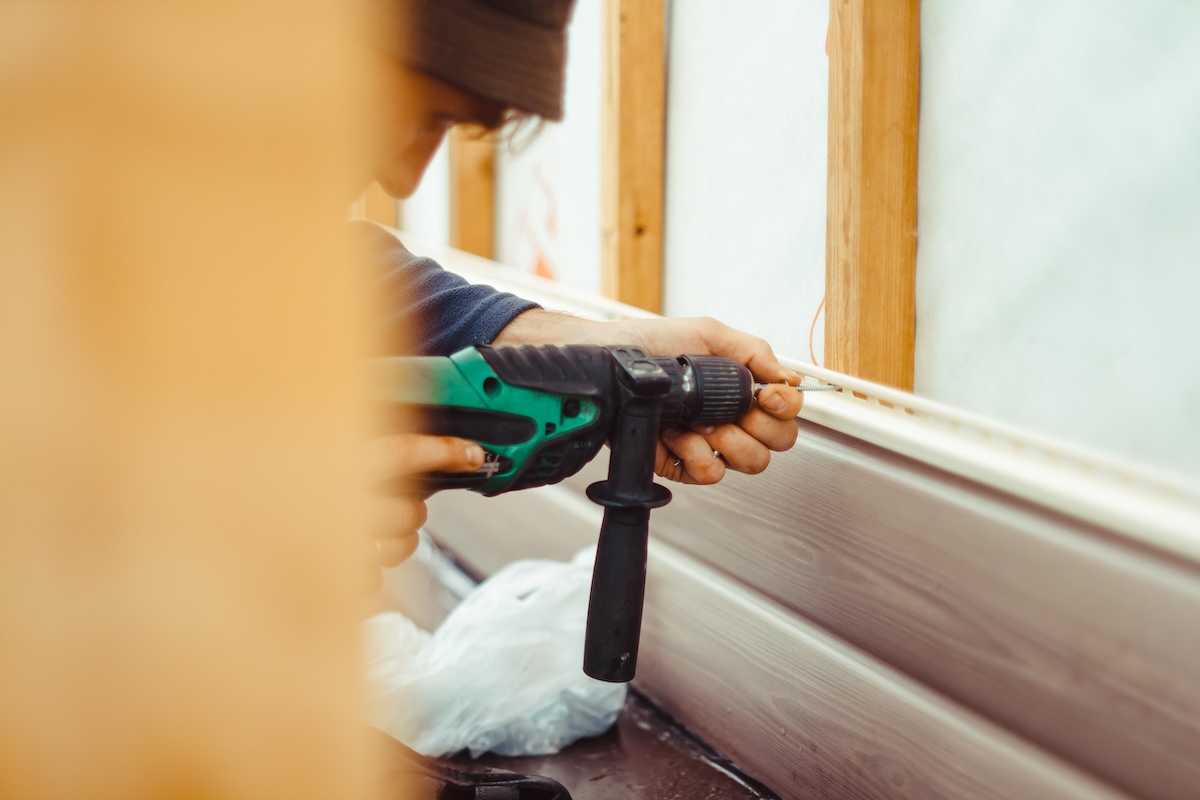
Step 5: Install the New Panel
- Slide the panel into place and hook it into the lower panel.
- Nail the top flange loosely (leave a 1/16” gap for movement).
- Snap the upper piece back in with the zip tool.
Check for: Tight alignment, smooth edges, no buckling.
Step 6: Final Inspection
- Tap the panel gently — it should feel firm and not rattle.
- Check from a distance — it should blend with surrounding panels.
- Ensure nails aren’t overtightened.
Pro Tip: Take a photo of the finished work for your home maintenance records (or to show off!).
Common Signs Your Vinyl Siding Needs Repair
Recognizing when your vinyl siding needs repair is crucial to prevent further damage to your home. Addressing issues early can save you money and maintain your home’s curb appeal.
Cracks and Holes
Cracks in vinyl siding are more than just a cosmetic issue—they can leave your home vulnerable to various problems. Moisture can seep through the cracks, causing water damage and potentially leading to mold or mildew growth. Pests, such as insects, can also find their way inside through these openings, creating an infestation risk. Additionally, drafts entering through cracks can make your home less energy-efficient, increasing heating and cooling costs. These cracks are often caused by physical impacts like hailstorms, flying debris, or even accidental damage from tools and equipment. Addressing cracks early is crucial to protecting your home from long-term damage.
Warping or Buckling
Warping or buckling of vinyl siding can significantly impact both the appearance and integrity of your home’s exterior. This problem often occurs when siding is subjected to prolonged exposure to high temperatures, which can cause the material to expand and distort. In other cases, improper installation, such as nailing the siding too tightly, can prevent it from expanding and contracting naturally, leading to visible warping. Warped siding not only looks unattractive but can also create gaps that allow water and air to penetrate, weakening the structure underneath. Fixing warping promptly can prevent further damage and maintain your home’s curb appeal.
Loose or Missing Panels
Loose or missing siding panels are a serious issue that can compromise your home’s protection against the elements. Without proper coverage, water can seep into the frame of your house, leading to wood rot, weakened structural integrity, or even mold growth. Strong winds or severe weather are common culprits for loosening or dislodging panels. Beyond the structural risks, exposed areas can reduce your home’s insulation, resulting in higher energy bills and an uncomfortable indoor environment. Securing loose panels or replacing missing ones promptly is essential to prevent costly repairs down the line.
Fading or Discoloration
Fading or discoloration of vinyl siding might seem like a purely aesthetic concern, but it can point to underlying issues. Over time, consistent exposure to UV rays from the sun can cause the siding’s color to fade, making your home look weathered and less appealing. In some cases, fading may signal that the material has aged or that the protective coating has worn off, leaving the siding more susceptible to cracking and other damage. While fading doesn’t affect the functionality of the siding immediately, it can hurt your home’s curb appeal and reduce its overall value. Repainting or replacing faded siding can breathe new life into your home’s exterior and ensure it looks its best for years to come.
Repair vs. Replacement: How to Decide
| Sign | Repair | Replacement |
|---|---|---|
| Extent of damage | Localized cracks, dents, or warping in 1–3 areas | Widespread damage across large sections |
| Panel condition | Panels are intact aside from minor damage | Panels are brittle, warped, or breaking apart |
| Age of siding | Less than 15 years old | 20+ years old or past warranty period |
| Color fading | Still consistent with other panels | Severe fading or sun bleaching |
| Moisture issues | No visible signs of mold or rot behind siding | Soft spots, rot, mildew, or musty smells present |
| Energy efficiency | Energy bills are normal | Drafts, heat loss, or rising energy bills |
| Maintenance frequency | First or infrequent repair | Frequent repairs needed over the last 2–3 years |
| Manufacturer match | Same panels still available in stores | Panel style/color is discontinued or hard to match |
| Curb appeal | Looks mostly clean and updated | Outdated or mismatched appearance across exterior |
| Budget | Low-cost, short-term fix | Higher upfront investment, but adds home value |
Final Thoughts: Keep Your Siding Strong for Years to Come
When it comes to protecting your home’s exterior, Perfect Siding is proud to be a trusted choice for homeowners across Idaho and Eastern Washington. With over 20 years of experience, we specialize in repairing and replacing vinyl siding using top-quality materials that match your home’s style and stand up to harsh weather.
Our team believes in honest, transparent pricing and backs every project with a comprehensive 30-year transferable warranty, so you can feel confident about the work we do. Whether you need help fixing a small crack or you’re considering a full siding replacement, we’re here to give you expert guidance without the pressure. Ready to get started? Contact us today to schedule your free inspection. We’ll help you make the right choice for your home and your budget!