
How To Clean Vinyl Siding In 7 Simple Steps
Vinyl siding protects your home’s exterior while maintaining its curb appeal, but over time, dirt, grime, mildew, and environmental pollutants can make even the highest-quality siding look dull and weathered. Regular cleaning not only restores your home’s appearance but also extends the life of your siding investment.
Learning how to clean vinyl siding properly can save you hundreds of dollars in professional cleaning services while ensuring your home maintains its value and visual appeal. Whether you’re dealing with everyday dirt buildup, stubborn mildew stains, or preparing your home for the market, this comprehensive guide will walk you through everything you need to know.
This article covers:
- Essential tools and supplies for cleaning vinyl siding
- A complete 7-step cleaning process
- Safety considerations and best practices
- Troubleshooting common cleaning challenges
- When to call professional contractors
- Maintenance tips to keep your siding looking fresh
🛠️ Essential Tools and Supplies for Vinyl Siding Cleaning

Before you begin cleaning your vinyl siding, gathering the right tools and materials ensures efficient work and professional-looking results. Having everything prepared saves time and prevents multiple trips to the hardware store.
- Garden hose with adjustable nozzle settings: Choose one that offers both gentle spray and high-pressure options.
- Long-handled scrub brush or soft-bristled brush: Helps prevent excessive reaching and reduces fatigue when cleaning.
- Extension ladder or step ladder: Use a sturdy ladder that extends at least three feet above the cleaning area and is rated for your weight plus supplies.
Cleaning Solutions That Work
- Effective cleaning solution: Mix one-third cup of laundry detergent, two-thirds cup of powdered household cleaner, one quart of liquid bleach, and one gallon of water. Great for tackling dirt, grime, and mildew stains.
- Eco-friendly solution: Combine one part white vinegar with three parts water. Ideal for light dirt and everyday grime without harsh chemicals.
✅ 7 Simple Steps to Clean Vinyl Siding

Follow this systematic approach to achieve professional cleaning results while protecting your siding from damage. Each step builds on the previous one, ensuring thorough cleaning without shortcuts that could lead to streaking or incomplete results.
Step 1: Prepare Your Work Area
Start by removing or covering outdoor furniture, decorations, and plants near the areas you’ll be cleaning. Rinse nearby vegetation with clear water before and after cleaning to prevent damage from cleaning solutions.
Close all windows and doors to prevent water and cleaning solutions from entering your home. Cover electrical outlets, light fixtures, and air conditioning units with plastic sheeting secured with painter’s tape.
Step 2: Rinse the Siding
Using your garden hose, thoroughly rinse the siding from bottom to top. This initial rinse removes loose dirt, spider webs, and surface debris, making the cleaning process more effective.
Pay special attention to areas under eaves, around windows, and near foundation level where dirt typically accumulates. A thorough rinse prevents dirt from turning into mud when mixed with cleaning solutions.
Step 3: Apply Cleaning Solution
Working in manageable sections approximately 10 feet wide, apply your chosen cleaning solution using a soft-bristled brush or spray bottle. Start at the bottom of each section and work upward to prevent streaking.
Allow the cleaning solution to sit for 5-10 minutes, giving it time to break down dirt, grime, and mildew. Avoid letting the solution dry on the siding, as this can cause spotting and make rinsing more difficult.
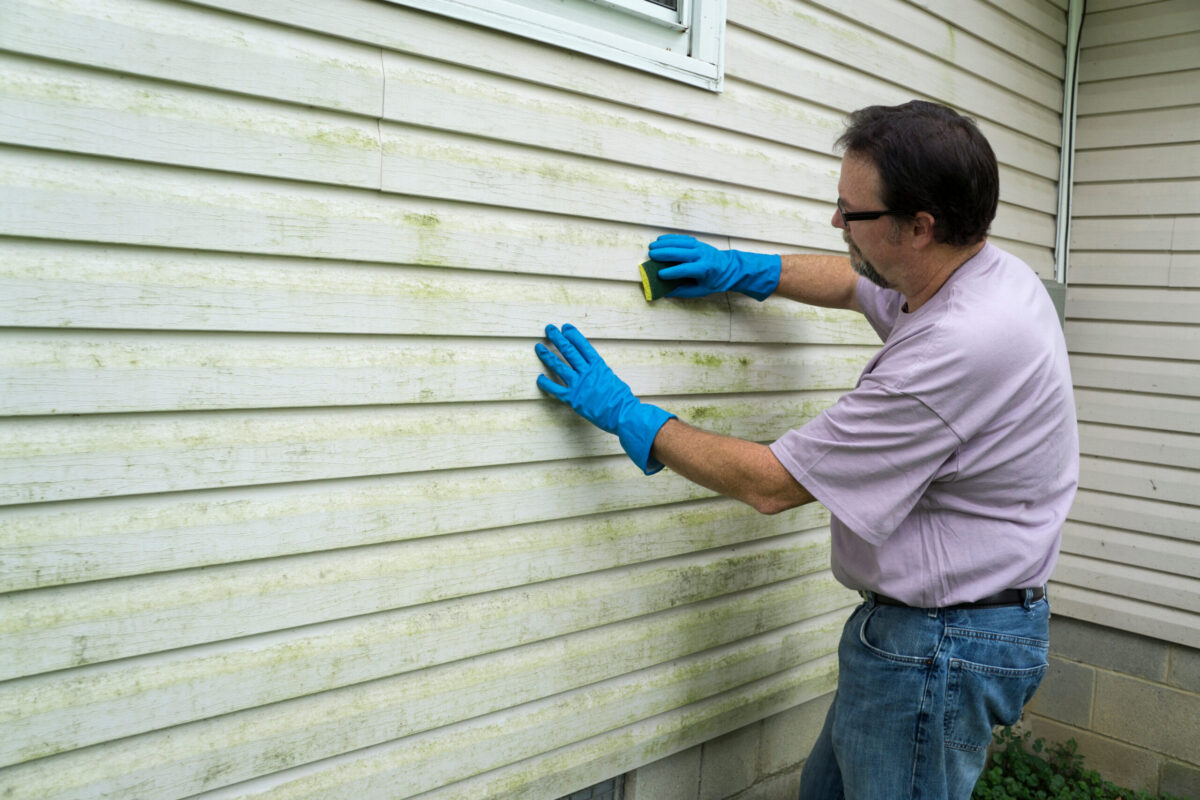
Step 4: Scrub Stubborn Areas
Use your soft-bristled brush to gently scrub areas with heavy buildup, mildew stains, or stubborn dirt. Work in circular motions, applying steady but gentle pressure to avoid scratching or damaging the vinyl surface.
Focus on problem areas such as north-facing walls that receive less sunlight, areas near gutters and downspouts, and sections close to vegetation where organic matter accumulates.
Step 5: Rinse Thoroughly
Rinse each cleaned section immediately after scrubbing, working from top to bottom. This prevents cleaning solution from drying on the surface and ensures complete removal of dirt and grime.
Use steady, overlapping strokes with your hose to ensure even rinsing. Check for streaks or missed spots, and re-rinse any areas that don’t look completely clean.
Step 6: Inspect and Touch Up
After rinsing each section, step back and inspect your work while the siding is still wet. Wet siding reveals missed spots, streaks, or areas that need additional attention more clearly than dry surfaces.
Address any problem areas immediately by reapplying cleaning solution and scrubbing gently. This immediate touch-up prevents having to re-clean large sections later.
Step 7: Final Inspection and Cleanup
Once you’ve cleaned and rinsed all sections, perform a final walkthrough to ensure consistent results across your entire home. Look for missed spots, streaking, or areas where the cleaning solution may not have been completely rinsed away.
Clean up your work area by removing protective coverings, storing cleaning supplies safely, and giving nearby plants and landscaping a final rinse with clean water.
🦺 Safety Considerations and Best Practices
Cleaning vinyl siding involves working with ladders, cleaning chemicals, and potentially slippery surfaces. Following proper safety protocols protects you from injury and ensures successful cleaning results.
Ladder Safety
- Always maintain three points of contact with your ladder—two hands and one foot, or two feet and one hand.
- Position your ladder on firm, level ground, and have someone spot you when possible.
- Never overreach while on a ladder. It’s safer to climb down and reposition the ladder than to stretch beyond your safe working range.
- Keep your belt buckle between the ladder rails as a general guideline for safe positioning.
Chemical Safety
- Read all cleaning product labels carefully and follow manufacturer instructions for dilution ratios and safety precautions.
- Never mix different cleaning products, as this can create dangerous chemical reactions.
- Work in well-ventilated areas and avoid cleaning on windy days when spray-back from cleaning solutions could affect you or nearby property.
- If you feel dizzy or experience breathing difficulties, stop immediately and move to fresh air.
Weather Considerations
- Choose overcast days or work in shaded areas when possible.
- Direct sunlight causes cleaning solutions to dry too quickly, leading to streaking and making thorough rinsing more difficult.
- Avoid cleaning during freezing temperatures, as water in your hose and cleaning solutions can freeze, making the job impossible and potentially damaging your equipment.
🤝 When to Call Professional Contractors
While cleaning vinyl siding is generally a manageable DIY project, certain situations warrant professional intervention. Recognizing these scenarios helps you make informed decisions about when to tackle the job yourself versus hiring experts.
Height and Safety Concerns
Homes with multiple stories, steep rooflines, or challenging architectural features may require professional cleaning services. Professional contractors have specialized equipment, safety training, and insurance coverage for high-risk cleaning situations.
If you’re uncomfortable working on ladders or have physical limitations that make climbing difficult, professional services provide safe, effective cleaning without personal risk.
Extensive Damage or Specialized Issues
Siding with significant mildew problems, structural damage, or specialized materials may benefit from professional assessment and cleaning. Contractors can identify potential problems and recommend appropriate solutions.
Professional services also make sense for large homes where the time investment for DIY cleaning would be substantial, or when preparing your home for sale and wanting guaranteed professional results.
💡 Maintenance Tips for Long-Lasting Results
Regular maintenance extends the time between deep cleaning sessions and keeps your vinyl siding looking fresh year-round. Simple preventive measures save time and effort while protecting your investment.
Regular Inspection Schedule
Inspect your siding quarterly, looking for early signs of mildew, damage, or excessive dirt buildup. Early intervention prevents small problems from becoming major cleaning challenges.
Pay special attention to north-facing walls, areas under eaves, and sections near vegetation where moisture and debris tend to accumulate more rapidly.
Seasonal Maintenance Tasks
Trim vegetation around your home to improve air circulation and reduce organic debris on your siding. Clean gutters regularly to prevent overflow that can stain siding and create breeding grounds for mildew.
Consider applying a vinyl siding protectant annually to help repel dirt and make future cleaning easier. These products create a barrier that reduces dirt adhesion and makes routine maintenance more effective.
Quick Touch-Up Techniques
Address spot cleaning immediately when you notice stains or buildup. A spray bottle with mild detergent solution and a soft cloth can handle small areas quickly before they require extensive cleaning.
Rinse your siding with a garden hose monthly during warm weather to remove surface dirt and pollen before it becomes embedded in the vinyl surface.
👨🔧 Professional Siding Services You Can Trust
While regular cleaning maintains your vinyl siding’s appearance, there comes a time when every homeowner considers siding replacement or major repairs. Whether you’re dealing with damaged panels, considering an upgrade, or planning a complete home exterior renovation, choosing the right contractor makes all the difference.
Ready to transform your home’s exterior? Contact Perfect Siding today for a free, no-obligation consultation. Our experts will assess your current siding, discuss your options, and provide a detailed estimate tailored to your project’s unique requirements. Visit our website to schedule your consultation and take the first step toward a beautiful, durable exterior that protects and enhances your home for years to come.