How To Paint Vinyl Siding In 8 Steps
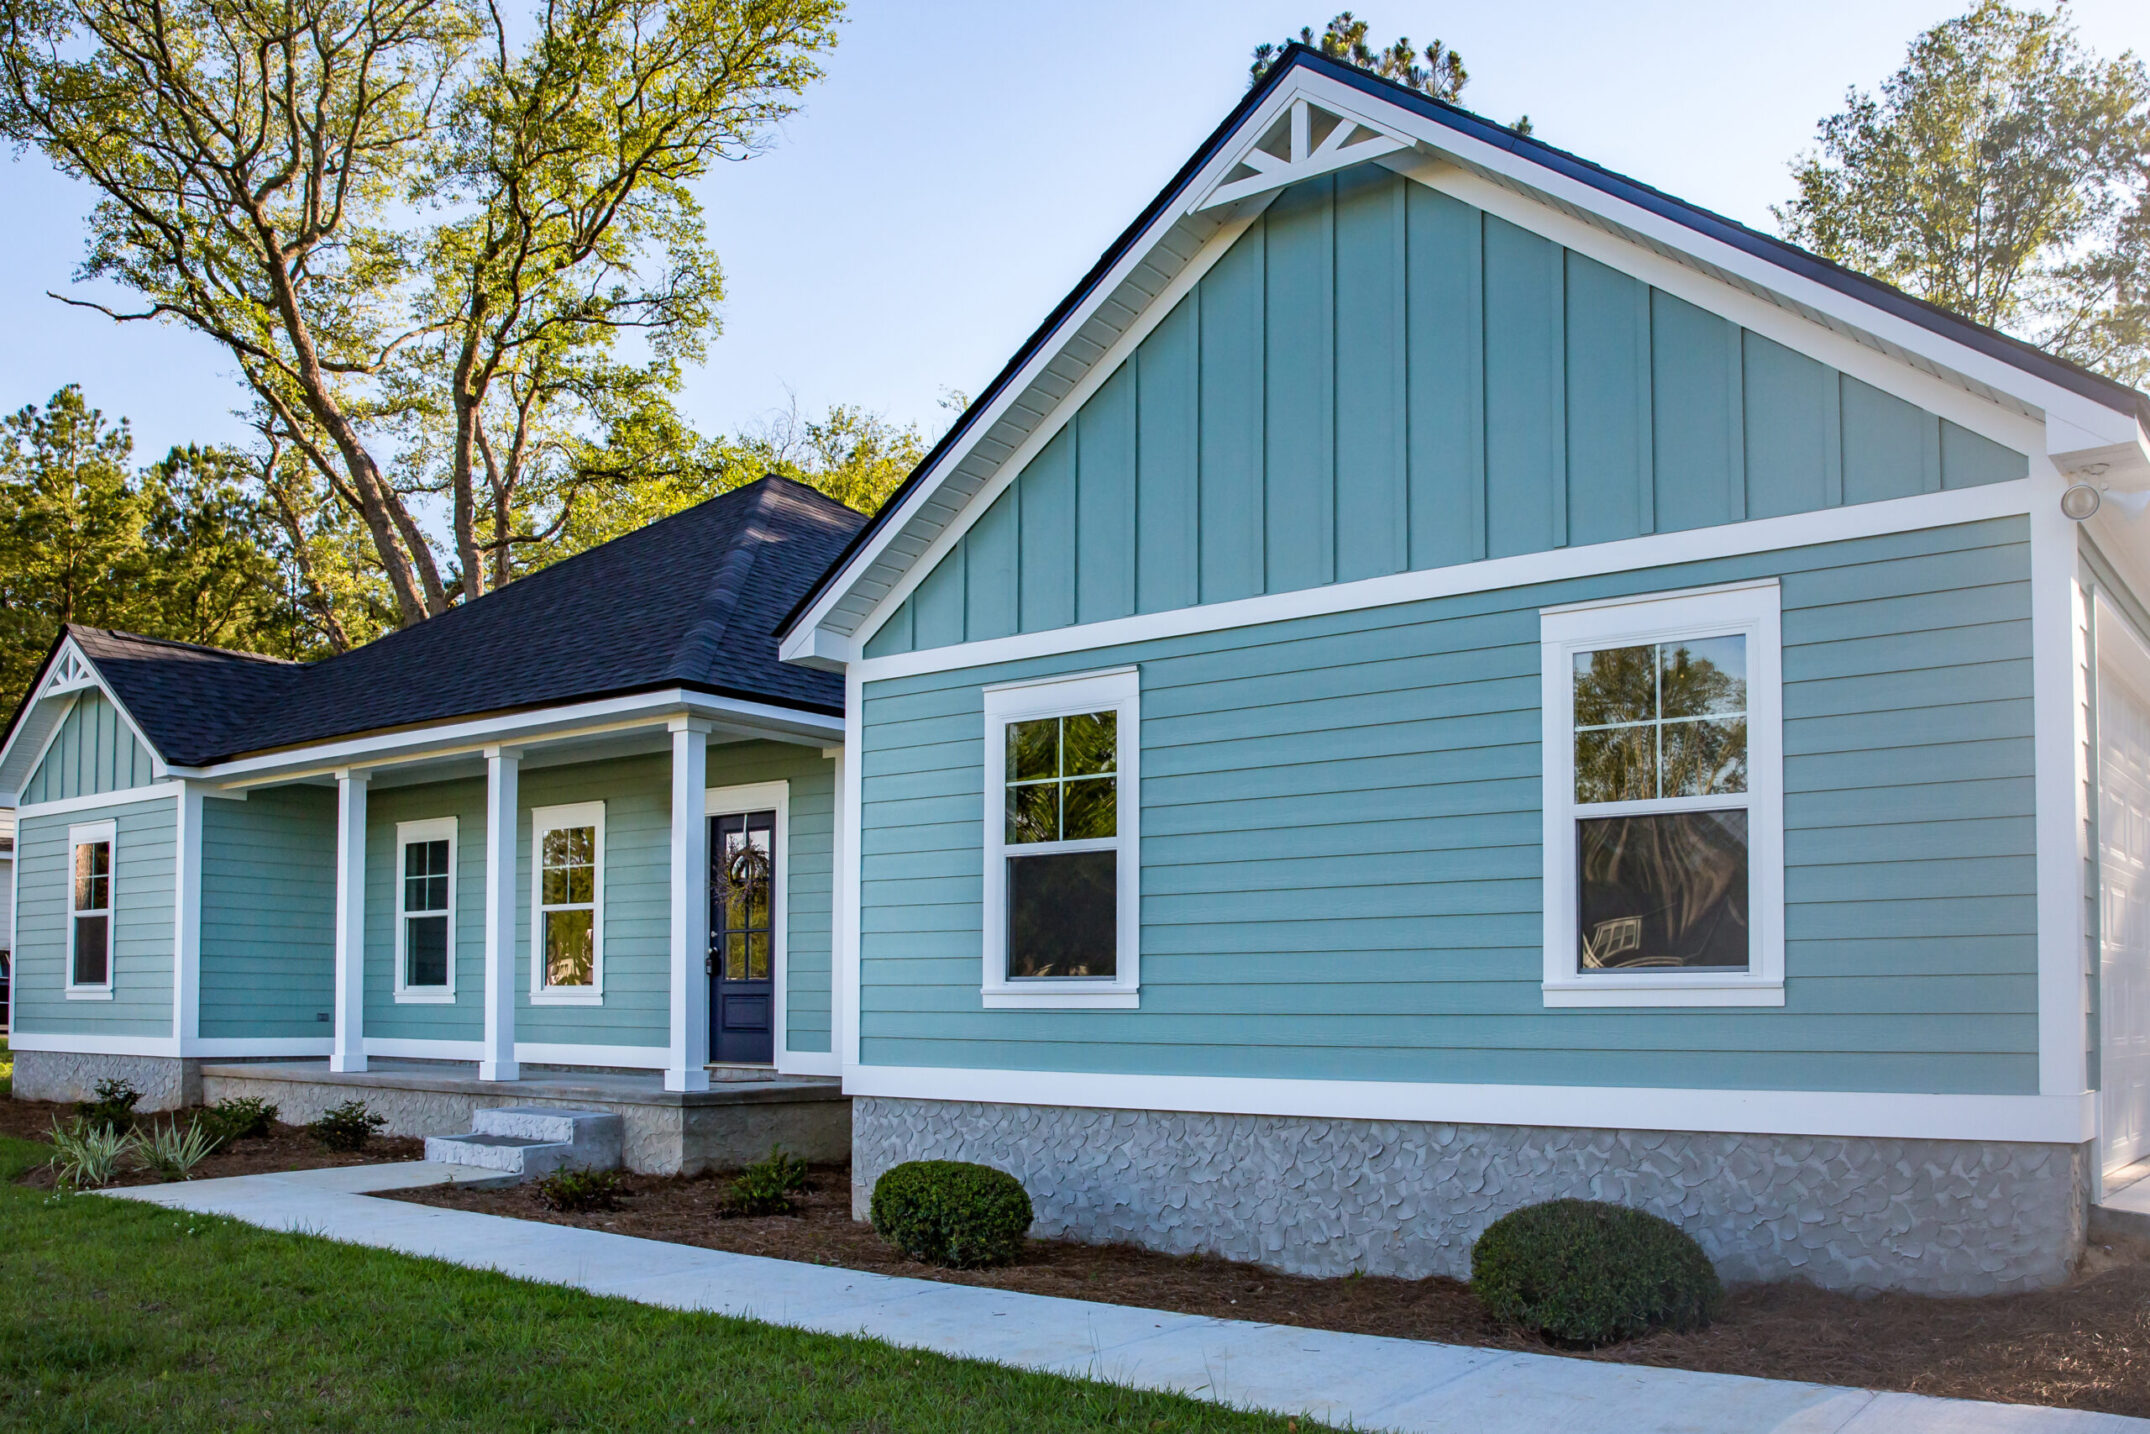
Painting vinyl siding can breathe new life into your home’s exterior while saving you thousands compared to full siding replacement. With the right preparation, materials, and technique, you can achieve professional-looking results that will last for years. This comprehensive guide will walk you through everything you need to know about how to paint vinyl siding, from initial assessment to final cleanup.
Whether your vinyl siding has faded over time, you want to change your home’s color scheme, or you need to address minor damage, painting can be an excellent solution. You’ll learn about proper surface preparation, choosing the right paint and primer, essential tools, and the step-by-step process that ensures lasting results. We’ll also cover common mistakes to avoid and maintenance tips to keep your newly painted siding looking fresh. Here’s what we’ll cover:
- Can you paint vinyl siding?
- 8 step guide: how to paint vinyl siding
- Common mistakes to avoid
- Maintenance tips for painted vinyl siding
🤔 Can You Paint Vinyl Siding?
The short answer is yes, you can paint vinyl siding, but success depends on several factors. Modern vinyl siding is designed to be painted, and manufacturers have developed products specifically for this purpose. However, older vinyl siding may present challenges due to its composition and condition.
The key to successful vinyl siding painting lies in understanding the material’s properties. Vinyl expands and contracts with temperature changes more than other siding materials. This movement requires flexible paint that can accommodate these changes without cracking or peeling. Additionally, vinyl’s smooth surface requires proper preparation to ensure paint adhesion.
Benefits of Painting Vinyl Siding
Painting your vinyl siding offers numerous advantages beyond simple aesthetics. Understanding these benefits can help you make an informed decision about your home improvement project.
- Cost-Effective Solution: Painting vinyl siding is far cheaper than replacement, costing $1.50 to $4.00 per square foot compared to $6 to $15 per square foot for new siding.
- Boosted Curb Appeal: A fresh coat of paint can completely transform your home’s look, offering endless color options to match trends or personal style.
- Extended Siding Lifespan: Quality paint adds protection from UV rays, moisture, and pollutants, prolonging the life of your vinyl siding.
- Higher Property Value: Freshly painted siding improves market appeal, making exterior upgrades a smart investment for resale.
✅ 8 Step Guide: How to Paint Vinyl Siding
Following a systematic approach ensures the best results when painting vinyl siding. Each step builds upon the previous one, so don’t rush or skip steps to save time.
1. Inspect and Assess Your Siding
Begin with a thorough inspection of your vinyl siding. Walk around your home, examining each section for damage, loose panels, or areas needing repair. Look for cracks, holes, warping, or sections that have pulled away from the house.
Document any issues you find and address them before painting. Small holes can be filled with exterior-grade caulk, while larger damage may require panel replacement. Ensure all panels are securely fastened and properly aligned.
2. Clean the Siding Thoroughly
Proper cleaning is crucial for paint adhesion. Start by removing dirt, mildew, chalk, and any existing loose paint. Use a pressure washer with appropriate pressure settings—too much pressure can damage vinyl siding.
Mix a cleaning solution of water and mild detergent, or use a specialized vinyl siding cleaner. For mildew or stubborn stains, add a small amount of bleach to your cleaning solution. Work from bottom to top to prevent streaking, then rinse thoroughly from top to bottom.
Allow the siding to dry completely before proceeding. This typically takes 24 to 48 hours, depending on weather conditions.
3. Protect Surrounding Areas
Cover plants, walkways, and outdoor furniture with drop cloths or plastic sheeting. Remove or cover exterior fixtures like lights, outlet covers, and shutters. Use painter’s tape to protect windows, doors, and trim that you don’t plan to paint.
Take time to do this step properly—cleanup is much easier when you’ve protected surfaces adequately from the start.
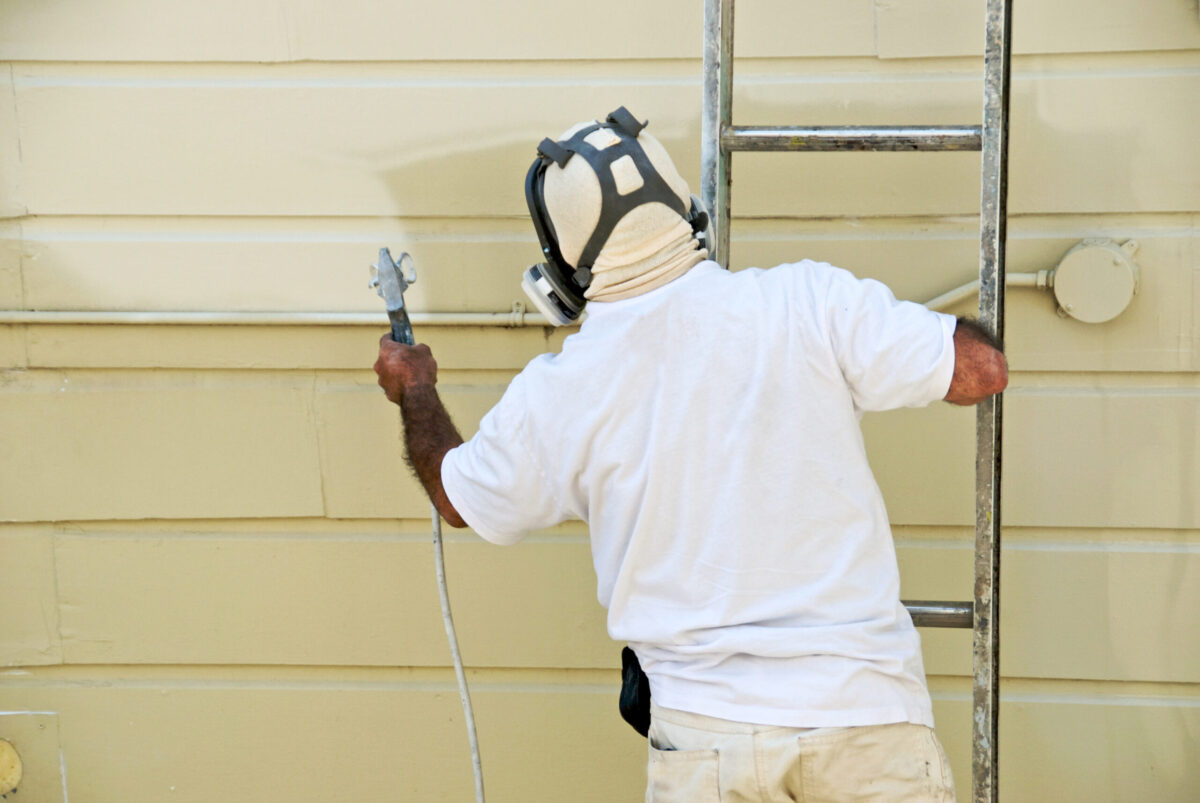
4. Apply Primer
Apply primer using your chosen method—brush, roller, or spray. Work in manageable sections, typically one side of the house at a time. Apply primer evenly, avoiding heavy buildup that can cause drips or runs.
Pay special attention to areas where you’ve made repairs or where the original siding shows signs of wear. These areas may require additional primer coats for uniform coverage.
Allow primer to dry completely according to manufacturer instructions before applying paint. This usually takes 4 to 6 hours in optimal conditions.
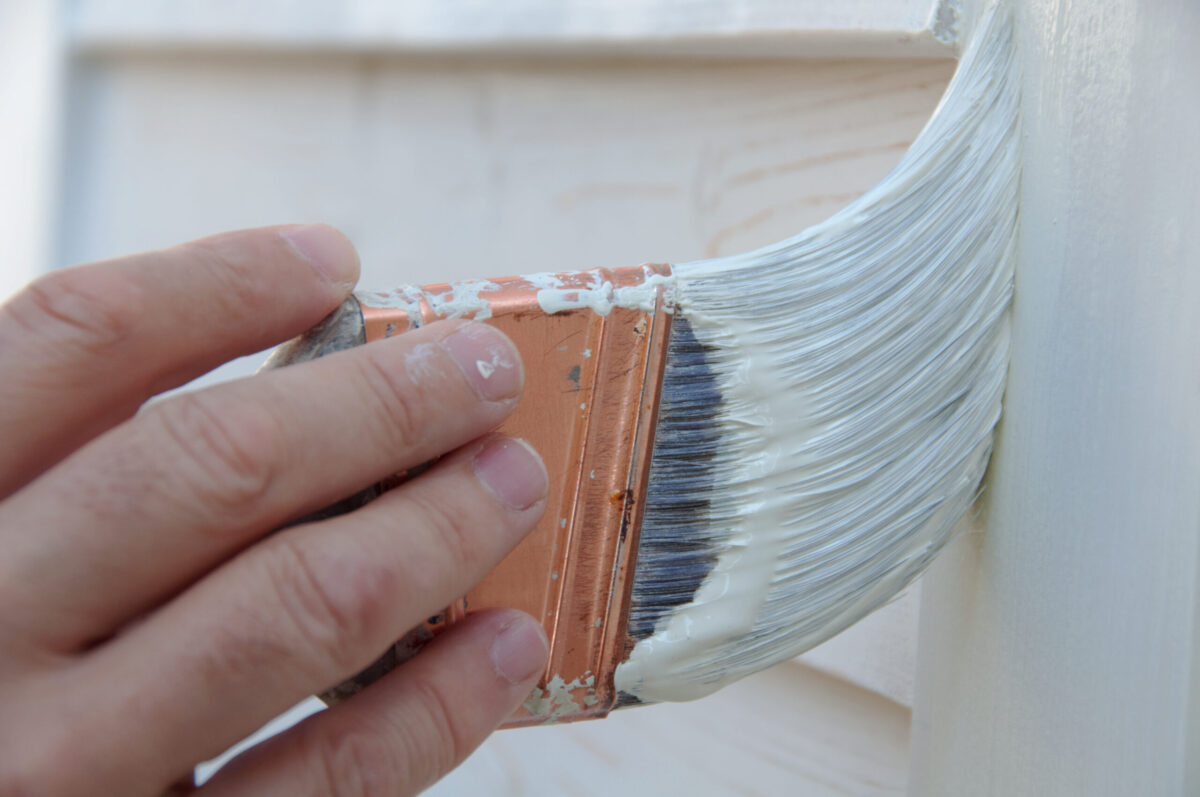
5. Apply the First Paint Coat
Apply paint using the same systematic approach used for primer. Work with the siding’s natural lines and patterns, maintaining a wet edge to prevent lap marks. Apply paint in thin, even coats rather than trying to achieve full coverage in one heavy application.
Start at the top of each section and work downward, painting complete boards or panels before moving to the next area. This approach ensures consistent coverage and helps prevent visible seams between painted sections.
6. Inspect and Touch Up
After the first coat dries, inspect your work carefully. Look for missed spots, thin coverage, or areas where the original color shows through. These areas will need additional attention before applying the second coat.
Use a brush to touch up small areas and ensure complete coverage. This attention to detail makes the difference between amateur and professional-looking results.
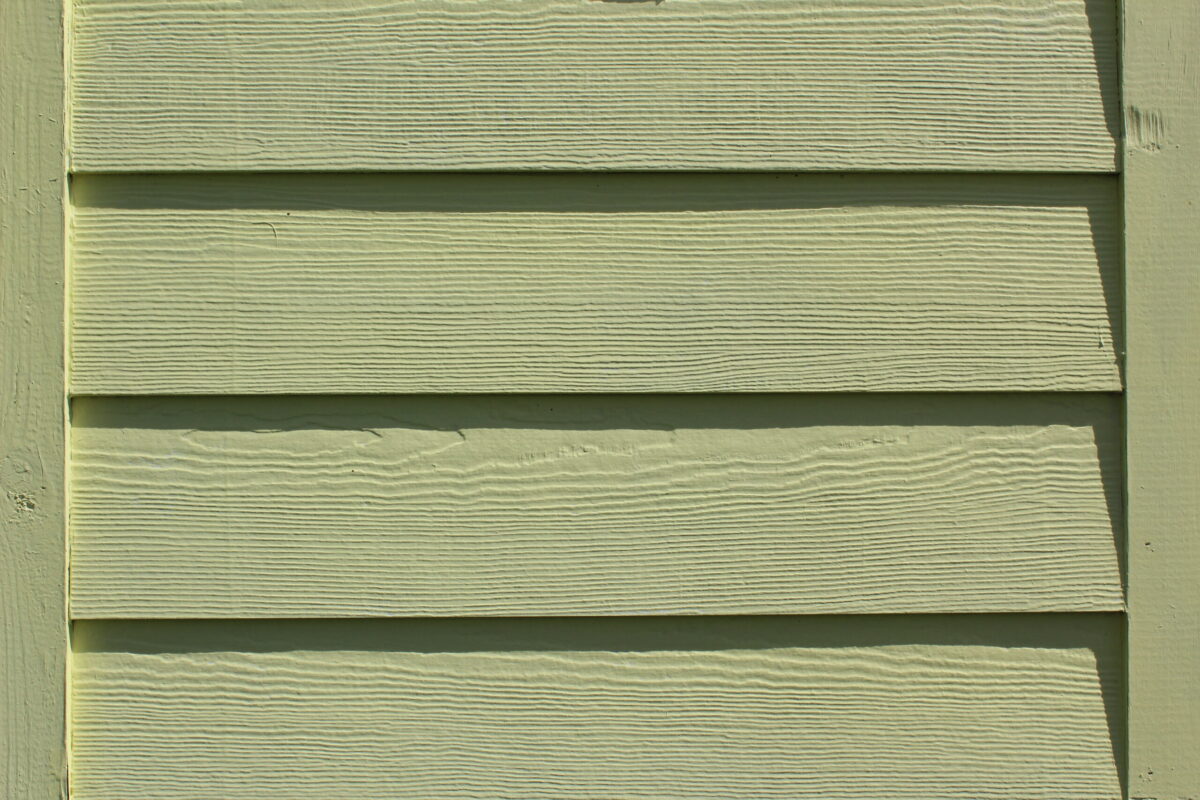
7. Apply the Second Coat
Most vinyl siding painting projects require two coats for optimal coverage and durability. Apply the second coat using the same techniques as the first, maintaining consistent thickness and coverage.
The second coat should go on more easily than the first and provide the rich, uniform color you’re seeking. Take your time to ensure even application and avoid rushing this final step.
8. Clean Up and Final Inspection
Remove all protective coverings and painter’s tape while the paint is still slightly tacky—this prevents peeling when tape is removed. Clean brushes and equipment promptly to extend their life.
Conduct a final inspection of your work, checking for any missed spots or areas needing touch-up. Address these issues immediately while your equipment is still set up.
🚫 Common Mistakes to Avoid
Learning from others’ mistakes can save you time, money, and frustration. These common errors can compromise your project’s success.
Inadequate Surface Preparation
Rushing through cleaning and preparation is the most common mistake in vinyl siding painting. Dirt, mildew, and chalk residue prevent proper paint adhesion, leading to premature failure. Take the time to clean thoroughly and allow complete drying before painting.
Wrong Paint Selection
Using interior paint, oil-based paint, or paint not formulated for vinyl surfaces will likely result in poor adhesion and early failure. Always choose high-quality acrylic latex paint specifically designed for vinyl siding applications.
Painting in Poor Weather Conditions
Avoid painting in direct sunlight, high winds, or when temperatures are too hot or cold. Ideal painting conditions include temperatures between 50°F and 85°F with low humidity and minimal wind.
Skipping Primer
While some paints claim to be paint-and-primer combinations, separate primer application typically provides better results, especially on vinyl siding. Don’t skip this important step to save time or money.
💡 Maintenance Tips for Painted Vinyl Siding
Proper maintenance extends the life of your paint job and keeps your siding looking fresh for years.
Regular Cleaning
Clean your painted vinyl siding annually with mild detergent and water. This removes dirt and pollutants that can degrade paint over time. Use a soft brush or cloth—avoid abrasive materials that might scratch the paint surface.
Prompt Repair of Damage
Address small chips, cracks, or areas of paint failure promptly before they become larger problems. Touch up these areas with matching paint to prevent moisture intrusion and further damage.
Inspection Schedule
Inspect your painted siding twice yearly, ideally in spring and fall. Look for signs of wear, fading, or damage that might require attention. Early intervention prevents small problems from becoming major repairs.
🏡 Why Choose Perfect Siding for Your Project
Painting vinyl siding can be a cost-effective way to refresh your home’s exterior and boost curb appeal, but it requires careful preparation and the right materials to ensure a long-lasting finish. At Perfect Siding, we bring unmatched expertise to every siding project, whether you’re considering painting your existing siding or upgrading to a full replacement. Our fully licensed and insured team understands the unique challenges of maintaining homes in the Northwest and is dedicated to delivering results that stand the test of time.
With our Best Price Promise and 30-year warranty on new siding installations, you can trust us to provide exceptional value and workmanship. Ready to give your home a fresh, updated look? Contact Perfect Siding today at for your free consultation and estimate, and let us help you transform your home with confidence!