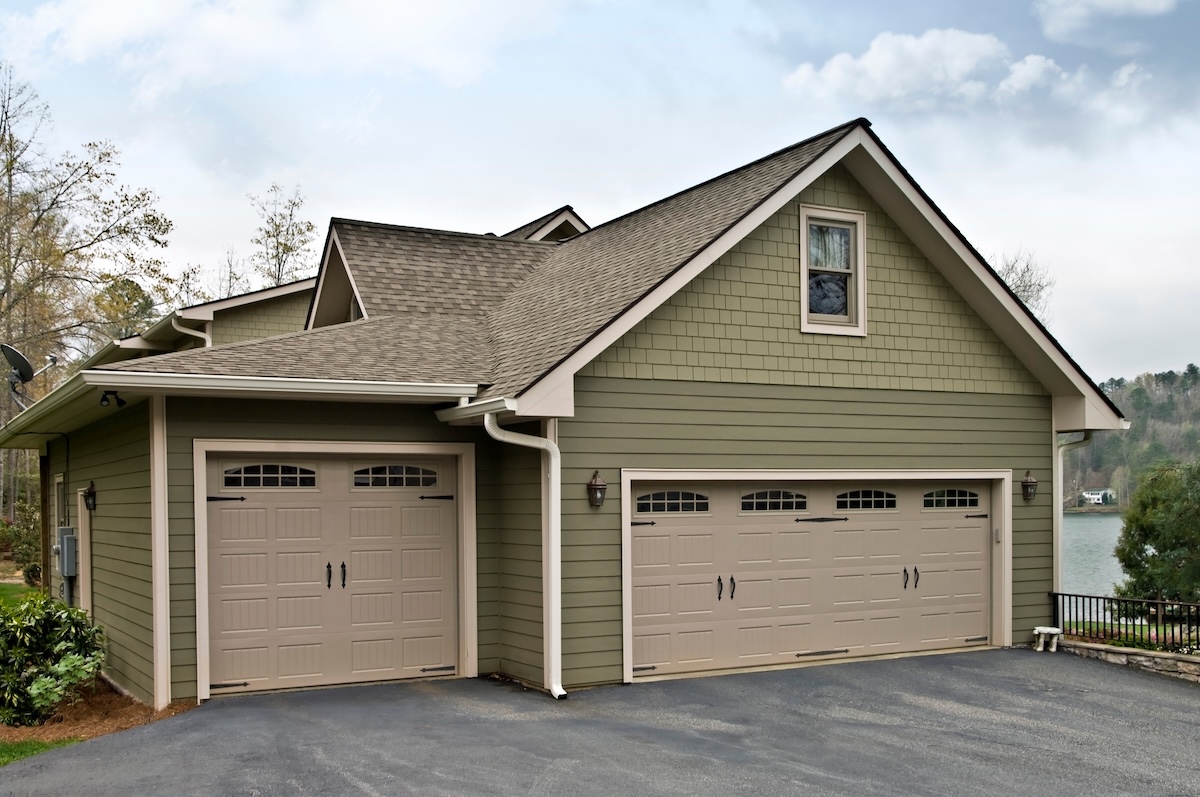
Fiber Cement Siding Installation (Tools, Process & More)
Fiber cement siding installation offers homeowners a durable, long-lasting exterior solution that combines the beauty of wood with the resilience of concrete. This comprehensive guide walks you through everything you need to know about the installation process, from essential tools and preparation steps to professional techniques that ensure a flawless finish.
Whether you’re considering a DIY approach or working with a professional contractor, understanding the fiber cement siding installation process helps you make informed decisions about your home’s exterior. We’ll cover the required tools, step-by-step installation procedures, common challenges, and why choosing the right installation team makes all the difference in your project’s success. Here’s what we’ll cover:
- Pre-installation preparation and planning
- 6 step fiber cement siding installation process
- Fiber cement siding installation comparison
- Common installation challenges and solutions
🔎 Pre-Installation Preparation and Planning

Successful fiber cement siding installation begins long before the first board goes up. Proper preparation ensures your project proceeds smoothly and delivers professional results that last for decades.
Start by examining your home’s existing exterior and addressing any structural issues. Remove old siding completely, checking for damaged sheathing or moisture problems that need attention. Repair any rotted wood, replace damaged house wrap, and ensure proper flashing around windows and doors.
Weather conditions play a crucial role in installation success. Fiber cement performs best when installed in moderate temperatures and dry conditions. Extreme heat can make the material brittle, while cold temperatures may affect adhesive performance and make handling more difficult.
Material acclimation helps prevent future problems. Store fiber cement siding in a dry location and allow it to adjust to local temperature and humidity conditions before installation. This step reduces the risk of expansion and contraction issues after installation.
Essential Tools for Fiber Cement Siding Installation
- Specialized Tools for Fiber Cement Siding: Unlike vinyl or wood, fiber cement requires unique tools for precision cutting and handling to avoid damage.
- Circular Saw Blades: Use a fiber cement circular saw blade for clean, chip-free cuts. Standard wood blades can cause cracking or splintering.
- Pneumatic Nail Gun: A nail gun designed for fiber cement fasteners ensures proper depth without over-driving, protecting the siding’s integrity.
- Safety Equipment: Dust masks or respirators protect against silica dust, safety glasses shield eyes from debris, and work gloves ensure grip and hand protection.
- Layout and Alignment Tools: Chalk lines, levels, and measuring tools are essential for accurate layout, alignment, and cuts.
- Access Tools: Use sturdy ladders or scaffolding for safe access to upper areas of the home’s exterior.
✅ 6 Step Fiber Cement Siding Installation Process
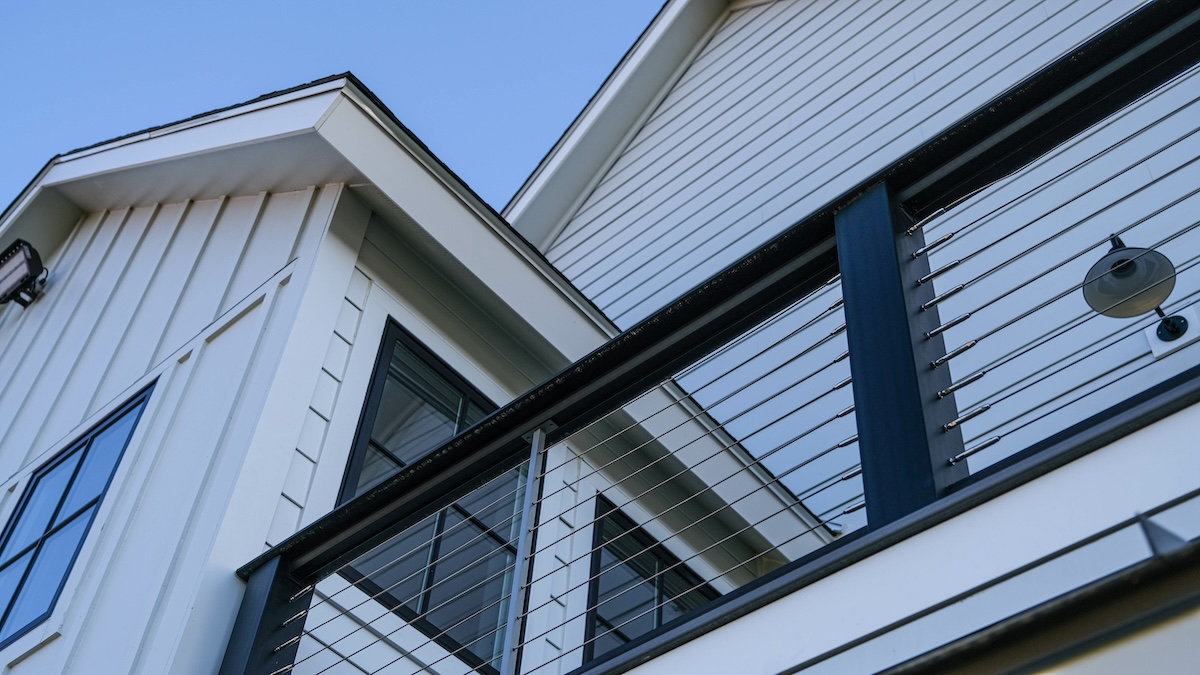
Installing fiber cement siding correctly is crucial for long-lasting durability and protection against weather damage. A proper installation process ensures your home remains energy-efficient and visually appealing.
1. Install Starter Strip and Layout Lines
Begin your fiber cement siding installation by establishing a level starter strip around your home’s perimeter. This critical first step ensures all subsequent courses remain straight and properly aligned. Use a water level or laser level to mark a consistent height, accounting for any foundation irregularities.
The starter strip provides a nailing base for your first course and creates the proper angle for water drainage. Position it according to manufacturer specifications, typically leaving a small gap above grade level to prevent moisture wicking.
2. Cut and Prepare Siding Boards
Measure each board carefully before cutting, accounting for expansion gaps at corners and joints. Use proper cutting techniques with your fiber cement blade, supporting both sides of the cut to prevent breaking. Pre-drill nail holes near board ends to prevent splitting.
Apply approved primer to all cut edges immediately after cutting. This step protects the raw fiber cement from moisture infiltration and ensures your warranty remains valid. Allow primer to dry completely before installation.
3. Install First Course
Position your first course of fiber cement siding on the starter strip, ensuring proper overlap and alignment. Maintain consistent spacing between boards and check level frequently. Drive fasteners according to manufacturer specifications, typically every 16 inches and at least 1 1/4 inches from board edges.
Avoid over-driving nails, which can crack the siding or create weak points. The nail head should sit flush with the surface without dimpling the material.
4. Continue with Subsequent Courses
Work your way up the wall, maintaining consistent reveal dimensions between courses. Use a story pole or spacing guide to ensure uniform appearance. Stagger joints between courses by at least 6 inches to create an attractive pattern and improve weather resistance.
Check alignment regularly using a chalk line or level. Small adjustments made early prevent larger problems as you progress up the wall.
5. Handle Corners and Trim Details
Install corner trim before siding reaches these areas, or use mitered corners for a seamless appearance. Pre-finished corner boards save time and provide consistent appearance, while mitered corners require precise cutting but offer superior aesthetics.
Flash all penetrations properly and seal gaps with appropriate caulking materials. Pay special attention to areas around windows, doors, and utility connections where water infiltration commonly occurs.
6. Complete Final Details and Inspection
Install final trim pieces, caulk all joints, and touch up any primer areas. Conduct a thorough inspection of your installation, checking for loose fasteners, gaps in caulking, or alignment issues.
Clean the job site thoroughly, removing all debris and dust. Proper cleanup prevents staining and damage to your new siding from construction materials.
⚖️ Fiber Cement Siding Installation Comparison
| Installation Aspect | Fiber Cement | Vinyl Siding | Wood Siding |
| Installation Time | 3-5 days | 2-3 days | 4-6 days |
| Tool Requirements | Specialized | Standard | Standard |
| Skill Level | Intermediate-Advanced | Beginner-Intermediate | Intermediate |
| Weather Sensitivity | Moderate | Low | High |
| Cutting Requirements | Dust control needed | Clean cuts | Standard woodworking |
| Fastener Type | Specific fiber cement | Standard vinyl | Wood screws/nails |
🛠️ Common Installation Challenges and Solutions
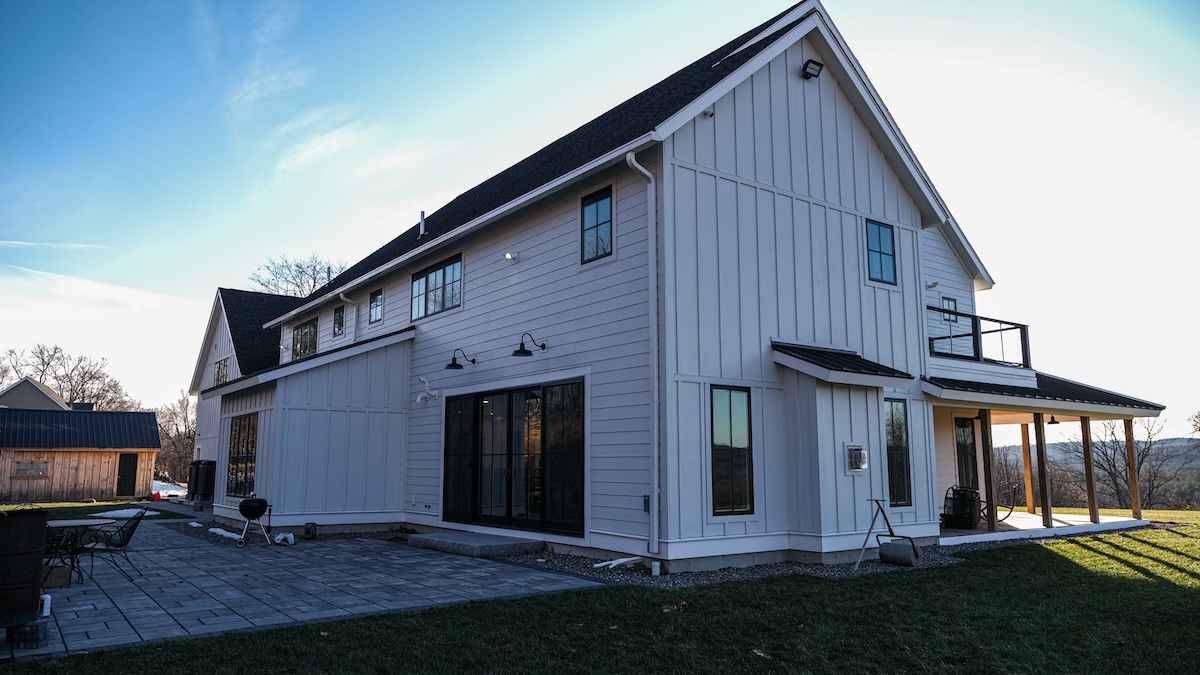
Fiber cement siding installation presents unique challenges that require specific solutions. Understanding these potential issues helps you prepare for a successful project.
Health and Safety
Dust control is a critical concern when working with fiber cement siding. Cutting the material produces silica dust, which can be hazardous if inhaled. Workers should always wear proper respiratory protection, such as N95 masks or respirators, to minimize exposure. Employ dust management strategies like wet cutting techniques to reduce airborne particles and ensure work areas are well-ventilated for additional safety.
Handling and Installation
Fiber cement siding is particularly sensitive to thermal expansion and contraction, which can lead to issues if not handled properly. To prevent cracking or premature failure, leave adequate gaps at joints to allow for movement. Use flexible fastening methods that can accommodate these slight shifts, as rigid installations can cause unnecessary stress on the material. Proper planning during installation is key to ensuring durability and long-term performance.
Moisture Management
Managing moisture is essential when installing fiber cement siding, as the material absorbs water more easily than vinyl but less than wood. Proper flashing, sealing, and attention to detail during installation help keep water from infiltrating the structure. This not only protects against structural damage but also prevents issues like mold growth. Consistent quality control during installation ensures the siding performs as intended.
Color Consistency
Achieving consistent color across your siding can be a challenge due to variations between production lots. To avoid noticeable differences, always order materials from the same production run whenever possible. Plan the installation strategically to minimize any visible color variations, especially in prominent areas, ensuring a cohesive and professional appearance.
🏡 Why Choose Perfect Siding for Your Installation
When it comes to fiber cement siding installation, choosing the right team can make all the difference. At Perfect Siding, we combine years of specialized expertise, high-quality materials, and a dedication to craftsmanship to ensure your home’s exterior is both stunning and durable. Our commitment to following manufacturer specifications and industry best practices means your siding will not only look great but also perform as intended for years to come.
With comprehensive warranties and a customer-first approach, you can trust us to deliver lasting results and unmatched satisfaction. Ready to enhance your home’s curb appeal and protection? Contact Perfect Siding today or request your free estimate online. Let us bring your vision to life!